
TG-02 · TOOL GUIDE
Cordless Drill/Driver and Drill Bits
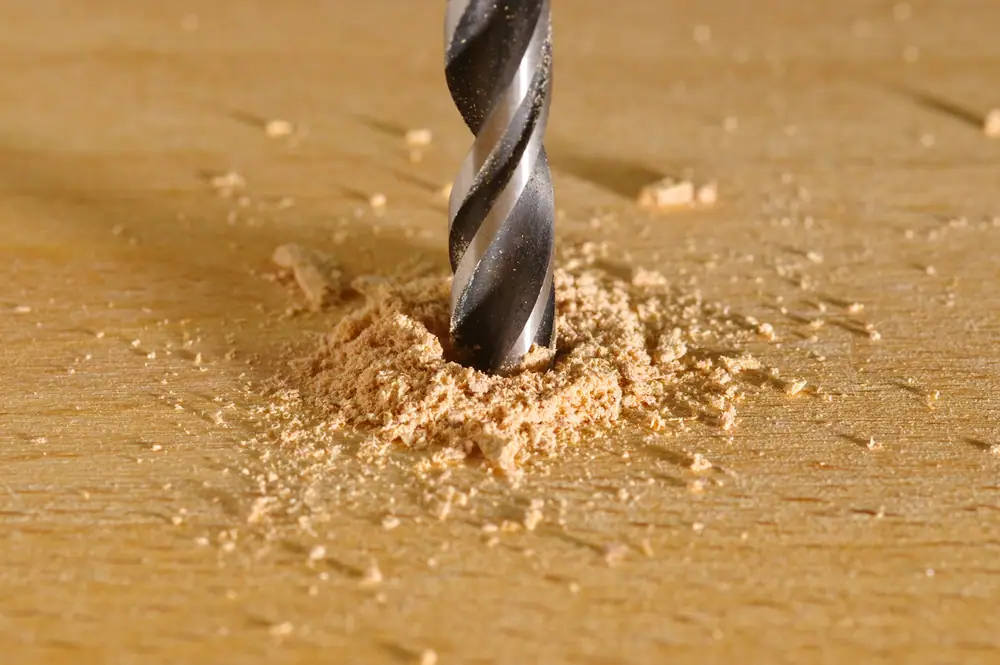
If you buy one power tool, make it a cordless drill/driver. It drills holes and drives screws, and with the right bit it will handle wood, plasterboard, metal and masonry. The challenge for beginners is not using it but choosing it: the spec sheets are full of volts, amp-hours, torque figures and chuck sizes. This guide translates them.
Spec comparison
| Spec | Compact drill/driver | Full-size drill/driver | Impact driver |
|---|---|---|---|
| Typical voltage | 12 V | 18–20 V | 12–20 V |
| Chuck / holder | 10 mm keyless | 13 mm keyless | 1/4 in (6.35 mm) hex quick-release |
| Clutch | Yes, numbered settings | Yes, numbered settings | No; uses rotational impacts |
| Weight (with battery) | approx. 0.9–1.4 kg | approx. 1.6–2.3 kg | approx. 0.9–1.6 kg |
| Good at | Furniture assembly, small holes, overhead work | Larger holes, hole saws, masonry with hammer mode | Long screws, lag screws, stubborn fasteners |
| Less suited to | Large-diameter holes | Long sessions overhead | Precise drilling, delicate screws |
For a first drill, a 12 V compact or an 18–20 V model with two batteries is a sensible choice. Two batteries are more useful than one large battery: one charges while you work.
Understanding the clutch
The numbered collar behind the chuck is the clutch. It sets how much resistance the drill will push against before it slips and makes a clicking sound. Low numbers stop early, which protects small screws and soft materials. High numbers allow more torque for larger screws. The drill symbol at the end of the collar locks the clutch out completely for drilling holes.
A practical routine: start on a low setting, drive a test screw into scrap, and turn the collar up one or two numbers at a time until the screw sets flush without the clutch clicking early.
Drill bits you actually need
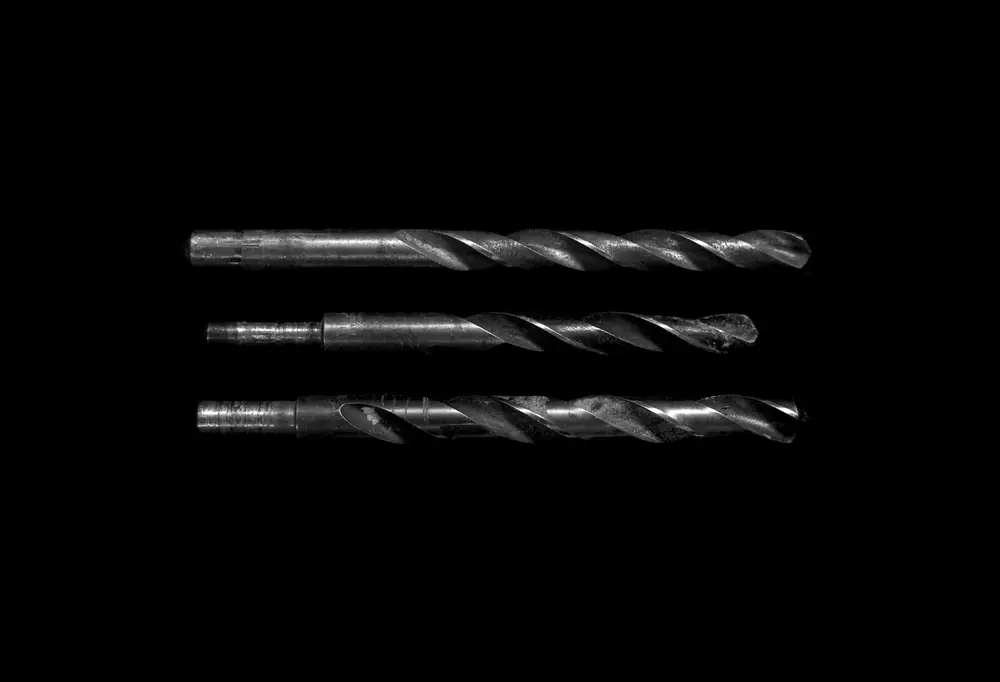
| Bit | Material | How to spot it | Tip |
|---|---|---|---|
| Twist (HSS or black oxide) | Wood, plastic, thin metal | Spiral flutes, pointed tip | Use moderate speed; add a drop of oil for steel. |
| Brad-point | Wood | Sharp centre spur and two cutting lips | Clean entry holes for furniture and shelving. |
| Masonry | Brick, block, concrete | Wide carbide tip, often a flat wedge | Use hammer mode if available; pull out to clear dust. |
| Spade | Wood, larger holes | Flat paddle with a point | Fast but rough; clamp the workpiece. |
| Driver bits | Screws | 1/4 in (6.35 mm) hex shank, Pozidriv/Phillips/Torx tips | Replace worn tips; they cause cam-out. |
What to look for
- Two batteries and a charger in the box. It avoids stopping mid-job.
- A clutch with plenty of settings. More steps give finer control when driving small screws.
- A built-in LED light. Useful inside cupboards and wardrobes.
- A variable-speed trigger that feels progressive. You should be able to turn the chuck very slowly to start a screw.
- A side handle on larger models for drilling bigger holes.
- A bit holder or belt clip so the driver bit you need is always close.
Safety checklist
Click a box to mark it complete.
Before drilling
- Safety glasses on; hair tied back; no loose sleeves or dangling cords near the chuck
- Checked the wall for pipes and cables with a detector, especially above and below sockets and switches
- Workpiece clamped, not held in your hand
- Bit fully seated and chuck tightened by hand, then given a final twist
While drilling
- Two hands on the drill for holes over 13 mm
- Steady, straight pressure; let the bit cut rather than forcing it
- Braced for a bind: large bits can twist the drill suddenly when they catch
Afterwards
- Battery removed before changing bits
- Hot bits left to cool before touching
First project to practise on
PRACTICE PROJECT · 1 HR
Drill a scrap-wood clutch and bit test panel
Clamp a piece of 18 mm plywood to a table. Drive a row of 4 × 30 mm wood screws, starting at clutch setting 2 and increasing by two each time, and write the number next to each screw with a pencil. You will see where screws stop short and where they sink too far. Then drill a row of holes from 3 mm to 10 mm with twist bits, and repeat with a brad-point bit to compare the entry holes. Finish by drilling a pilot hole and driving a screw next to one driven without a pilot, near the edge of the board, to see why pilot holes prevent splitting.
This guide is general information for home DIY. Always follow the manufacturer's instructions for your specific tool, and use a registered electrician, a Gas Safe registered engineer or a qualified builder for electrical, gas or structural work.