
TG-04 · TOOL GUIDE
Fasteners and Wall Plugs Explained
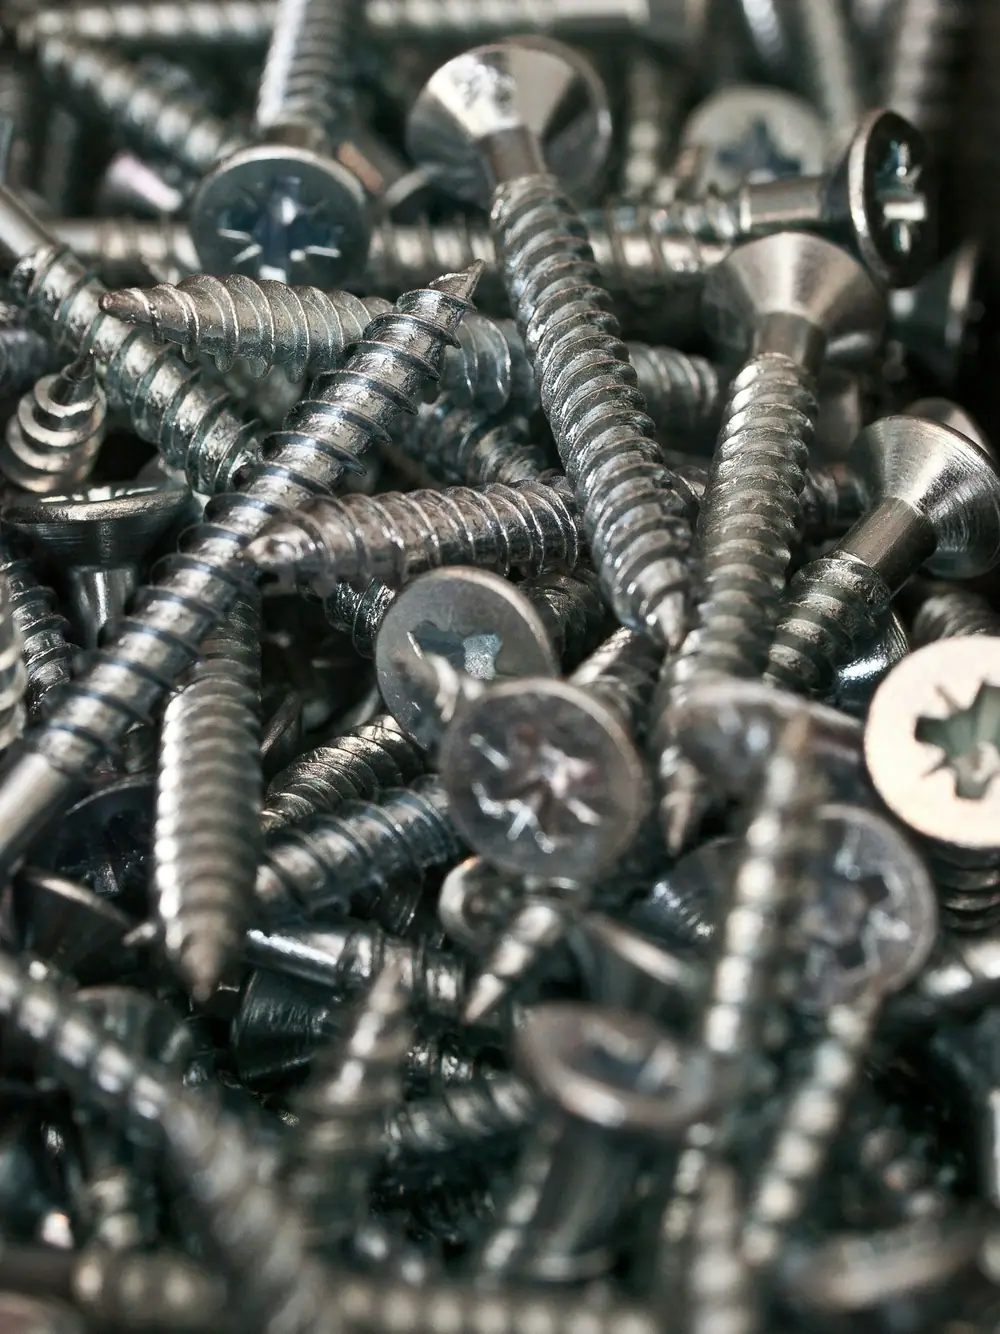
Fasteners are the least exciting part of the toolkit and the most common reason a job fails. A shelf that sags, a towel rail that pulls out of the wall, a hinge screw that spins without biting: each is usually a fastener choice rather than a tool problem. This guide explains how to read the label and match the fastener to the material behind it.
Reading a screw label
A label such as 4.0 × 30 mm tells you two things. The first figure is the diameter in millimetres: 3.5 mm is light, 4.0 mm is a general-purpose middle size, 5.0 mm is heavier. Older or imported packs may use gauge numbers instead, where No. 8 is close to 4 mm. The second figure is the length, measured from the tip to the surface the screw sits flush with. For a countersunk screw that is the whole screw; for a pan-head it is the shank below the head.
Spec comparison: wall plugs and fixings
| Fixing | Wall type | Typical use | Install notes |
|---|---|---|---|
| Plastic wall plug | Plasterboard, masonry | Light items: small frames, smoke alarms | Drill the size printed on the pack; tap flush, then drive the screw. |
| Self-drill plasterboard fixing | Plasterboard | Light-to-medium: mirrors, curtain poles | Screw in with a driver; stop when flush or it will strip the plasterboard. |
| Cavity wall anchor (hollow-wall bolt) | Plasterboard, hollow doors | Medium: towel rails, shelving brackets | Sleeve expands behind the wall as you tighten. |
| Toggle / strap toggle | Plasterboard, plaster, hollow block | Heavier: large shelves, TV brackets per maker rating | Needs a larger hole; the wing or channel opens behind the wall. |
| Masonry screw / sleeve anchor | Brick, concrete | Railings, brackets, outdoor fittings | Use a masonry bit of the specified size; clean the dust out. |
Always follow the load ratings printed on the pack, and remember they assume correct installation in sound material. In UK homes, outside walls and many older internal walls are solid brick or block with a plaster finish, while newer internal walls are often plasterboard on timber or metal studs, so identify the wall first. In a stud wall, the strongest option is a screw driven directly into a stud.
Screws, nails and bolts
- Wood screws have a partly smooth shank that pulls two boards together tightly.
- Plasterboard screws are brittle, fine-threaded and made for fixing plasterboard to studs, not for structural joints.
- Construction or decking screws are coated for outdoor use and are stronger than plasterboard screws.
- Round wire nails are thick and strong for rough carpentry; lost-head nails and panel pins have small heads that can be set below the surface and filled.
- Machine bolts go through a hole and are held by a nut and washer; they are removable and very strong in shear.
What to look for
- Drive type you can grip well. Torx drives resist slipping best; Pozidriv grips better than Phillips as long as you use a matching PZ bit.
- Corrosion resistance where needed. Use coated or stainless fasteners outdoors and in bathrooms.
- Fixing packs that list the drill size and load rating. If the pack does not tell you, skip it.
- An assortment organiser. A divided box with labelled compartments keeps sizes from mixing.
Safety checklist
Click a box to mark it.
Before fixing
- Identified the wall type (plasterboard, plaster, masonry) with a test hole in a hidden area
- Scanned for pipes and cables along the planned line
- Checked the fixing's rating against the item's weight plus anything it will hold
While fixing
- Drilled a pilot hole in hardwood and near board ends
- Used the exact drill size printed on the fixing pack
- Stopped driving when the head sat flush; did not over-tighten
After
- Pulled firmly on the fixed item before loading it
- Returned leftover fasteners to the labelled organiser
First project to practise on
PRACTICE PROJECT · 1 HR
Fixing test panel from a plasterboard offcut
Ask a builders' merchant for a small damaged plasterboard offcut, or buy a 600 × 600 mm panel. Screw it to a scrap frame of 25 × 50 mm timber battens. Install one of each fixing type from the table, following the drill size on each pack, and hang a bucket from each using a hook. Add weight gradually (water bottles work) and note how each fixing behaves. Then open the back to see how the toggles and cavity anchors spread. It is a small investment that removes the guesswork before you drill into a finished wall.
This guide is general information for home DIY. Always follow the manufacturer's instructions for your specific tool, and use a registered electrician, a Gas Safe registered engineer or a qualified builder for electrical, gas or structural work.