
TG-05 · TOOL GUIDE
Saws and Cutting Tools for Beginners
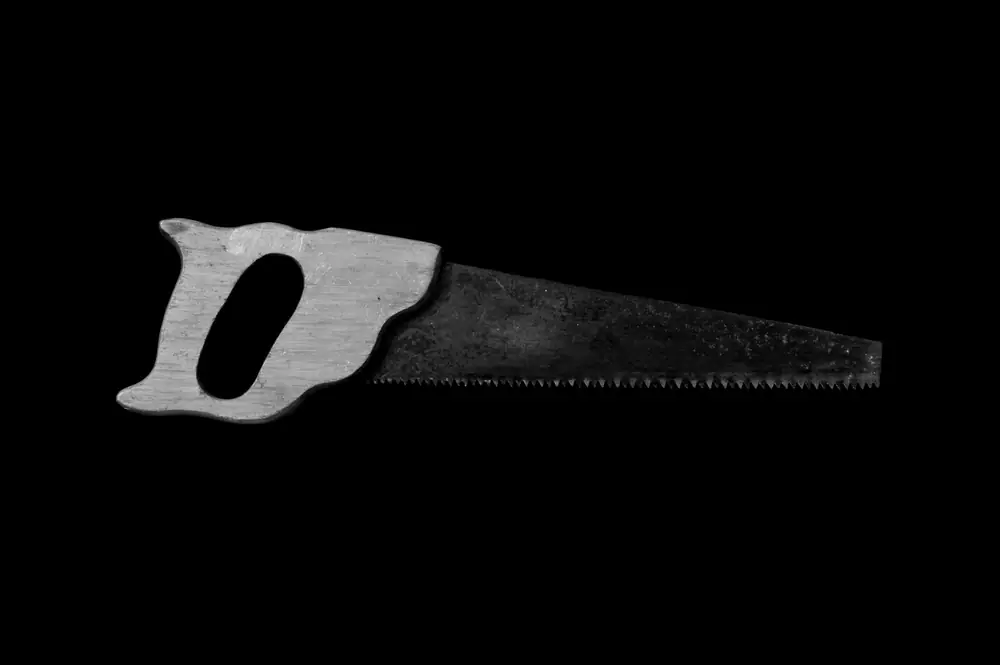
Cutting tools are where beginners tend to rush, and where patience shows most in the result. A sharp hand saw, a hacksaw and a good utility knife will cut timber, trim, pipe, plasterboard and carpet. Power saws come later, once you know how a cut should behave.
Spec comparison
| Tool | Key spec | Cuts | Beginner notes |
|---|---|---|---|
| Hand saw (crosscut) | 500–550 mm blade, 8–12 TPI | Boards, plywood, mouldings | Hardened "tri-cut" teeth stay sharp and cut on the push stroke. |
| Coping / pull saw | Thin blade, 14–17 TPI | Mouldings, fine joints | Cuts on the pull stroke; very controllable. |
| Hacksaw | 300 mm (12 in) frame, 18–32 TPI blade | Metal, plastic pipe, bolts | Teeth face away from the handle; use the full blade length. |
| Utility knife | Retractable, snap-off or trapezoid blade | Plasterboard, carpet, cardboard, scoring | Change blades often; a dull blade needs more force. |
| Jigsaw (power) | Variable speed, orbital setting | Curves, sheet materials | A good first power saw; slower but forgiving. |
| Circular saw (power) | 165–190 mm blade | Fast straight cuts in timber | Learn only after solid hand-saw practice; use a guide. |
Starting a straight cut
Mark the line all the way across with a square. Clamp the workpiece so the waste side hangs free. Place your thumb knuckle against the side of the blade, just above the teeth, to guide it, and draw the saw backward a few times to form a small notch. Then saw with long, relaxed strokes at about a 45° angle, keeping your eye, shoulder and the blade in one plane. Let the saw's weight do the cutting. Near the end of the cut, support the offcut so it does not splinter as it falls.
What to look for
- Induction-hardened teeth on a hand saw; they stay sharp far longer.
- A comfortable, closed handle that keeps your hand from slipping onto the teeth.
- A hacksaw frame with firm tensioning; a slack blade wanders and snaps.
- A utility knife that locks the blade solidly and has a spare blade compartment.
- A blade guard or sleeve for storage.
- For power saws: an electric brake, visible cut line and easy blade change.
Safety checklist
Click each box as you check it.
Setup
- Workpiece clamped or firmly held on a stable surface, never on your knee
- Safety glasses on; dust mask for sanding or cutting treated or composite boards
- Cut line fully visible and the waste side clearly marked
Cutting
- Free hand kept behind the direction of the cut
- Utility knife drawn away from your body with a straightedge as a guide
- Stopped and repositioned if the blade binds instead of forcing it
- For power saws: cord routed behind you, blade at full speed before contact
Finish
- Knife blade retracted and saw guard fitted before setting them down
- Used blades disposed of in a closed container
First project to practise on
PRACTICE PROJECT · 1.5 HR
Cut and assemble a simple tool tote
From a 1.8 m length of 18 × 144 mm planed pine, mark and cut two 300 mm sides, two 180 mm ends at a gentle angle, and a base, using a square and a crosscut hand saw. Cut a length of 18 mm dowel for the handle with the pull saw. Assemble with glue and 4 × 30 mm screws, drilling pilot holes near the ends. Every cut shows up in the fit of the box, which makes it a useful self-check, and you end with a tote to carry the tools from the other guides.
This guide is general information for home DIY. Always follow the manufacturer's instructions for your specific tool, and use a registered electrician, a Gas Safe registered engineer or a qualified builder for electrical, gas or structural work.