
TG-01 · TOOL GUIDE
Core Hand Tools: Hammer, Screwdrivers, Pliers and Spanners
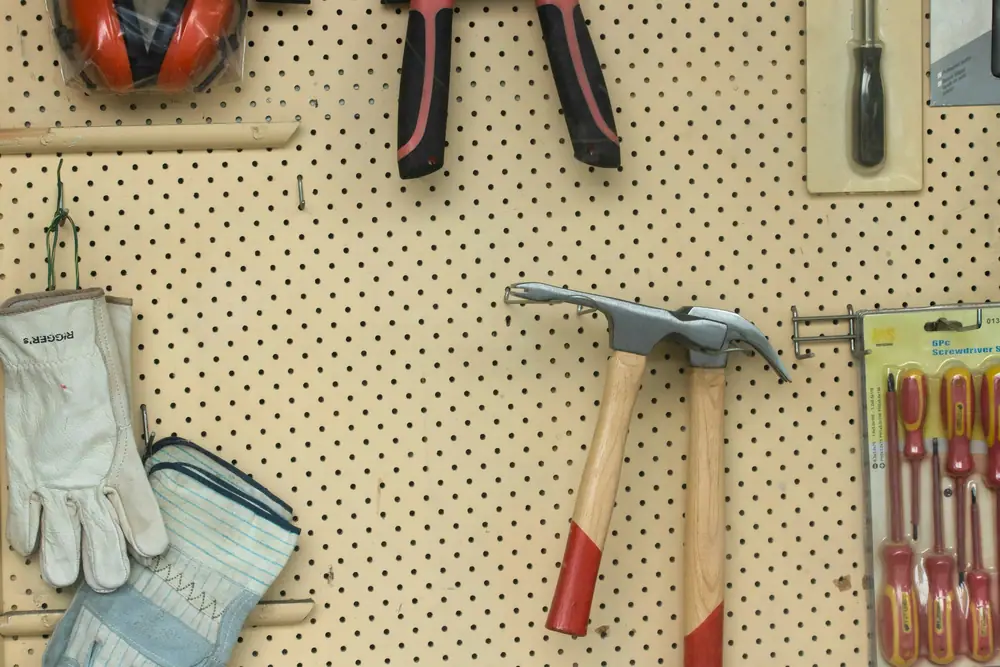
Before you think about batteries and chargers, get four hand tools right. A hammer, a set of screwdrivers, a few pairs of pliers and an adjustable spanner cover hanging pictures, tightening loose hinges, swapping cupboard handles, assembling flat-pack furniture and a long list of small repairs. They are also the tools that teach your hands what "snug", "tight" and "too far" feel like, which pays off later when you pick up a drill.
Spec sheet: what the numbers mean
Hand tools are sold with a few key numbers on the label. Knowing what each one describes makes it much easier to compare options in the aisle.
| Tool | Key spec | Starter pick | Why it fits a beginner |
|---|---|---|---|
| Claw hammer | Head weight (g / oz) | 450 g (16 oz), curved claw | Heavy enough for larger round wire nails, light enough for picture hooks without bruising your wrist. |
| Screwdrivers | Tip type and size | PZ1 & PZ2 Pozidriv, PH1 & PH2 Phillips, 5.5 mm & 6.5 mm slotted | These tips fit the large majority of household screws; most wood screws sold in UK DIY shops are Pozidriv. A multi-bit driver bundles them in one handle. |
| Combination pliers | Overall length | 150–200 mm | General gripping, bending and cutting wire. |
| Long-nose pliers | Overall length | 150 mm | Reach into tight spaces, hold small nuts, bend wire loops. |
| Water pump pliers | Max jaw opening | 250 mm body, ~50 mm jaw | Grips round things such as sink waste nuts and pipe fittings. |
| Adjustable spanner | Overall length | 200 mm (8 in) | Covers most nuts and bolts you meet around the house until you own a socket set. |
What to look for
- A handle that fits your hand. Hold the tool as you would use it. A screwdriver handle should fill your palm without your fingertips touching; a hammer should balance near the neck, not feel top-heavy.
- Hardened, cleanly machined tips. Screwdriver tips should be crisp with no rounding or burrs. Rounded tips slip out of screw heads and chew them up.
- Jaws that meet squarely. Close a pair of pliers and look at it against a light. Gaps or misaligned teeth mean poor grip.
- A spanner jaw with no wobble. Open the adjustable spanner halfway and try to rock the movable jaw. A little play is normal; a lot will round off nut corners.
- Forged or one-piece construction for hammers. A head that is firmly bonded to the handle is safer than one held by a loose wedge.
- Clear size markings. Stamped or etched sizes survive years of use. Painted labels wear off quickly.
Technique notes
Hammer: grip near the end of the handle, not by the neck. Start a nail with light taps while holding it between thumb and finger, then move your hand away and let the weight of the head do the work. Watch the nail head, not the hammer.
Screwdrivers: match the tip to the screw exactly. Push in firmly while you turn; most stripped screws come from too little pressure rather than too much torque. Clockwise to tighten, anticlockwise to loosen: that applies to nearly everything in a house.
Pliers: they grip, bend and hold. They are not a substitute for a spanner on a hex nut, because the serrated jaws round off the corners.
Adjustable spanner: close the jaws snugly on the nut and pull so the force pushes towards the fixed jaw. That keeps the movable jaw from spreading.
Safety checklist
Tick each box before you start. Click a box to mark it.
Before you start
- Hammer head is tight on the handle and the face is not chipped
- Screwdriver tips are square and undamaged
- Safety glasses are on for any hammering or prying
- Work surface is stable and at a comfortable height
During the job
- Fingers stay clear of the strike zone once the nail stands on its own
- Screwdrivers are never used as chisels or pry bars
- Spanner pulls towards you instead of pushing, so a slip does not send your knuckles into something hard
- Power is off at the consumer unit (fuse box) before you touch any electrical cover plate or fitting screw
After you finish
- Tools wiped clean and returned to their spot
- Bent nails and loose screws collected, not left on the floor
First project to practise on
PRACTICE PROJECT · 45 MIN
Build a simple nail-and-screw test board
Take a scrap of 47 × 100 mm (4 × 2) timber about 450 mm long. Drive ten 50 mm round wire nails in a straight line, focusing on smooth, full swings. Then use the claw to pull five of them back out, rocking the hammer on a small wood block to protect the surface. Next, hand-drive five wood screws with the PZ2 Pozidriv driver and five with a slotted driver, noticing how much easier the Pozidriv is to keep centred. Finally, thread a nut onto a bolt through a drilled hole and tighten it with the adjustable spanner, then loosen it with pliers to feel why the spanner is the right tool. Keep the board: it is a handy reference for how each fastener should look when set correctly.
This guide is general information for home DIY. Always follow the manufacturer's instructions for your specific tool, and use a registered electrician, a Gas Safe registered engineer or a qualified builder for electrical, gas or structural work.