
TG-03 · TOOL GUIDE
Measuring and Marking Tools
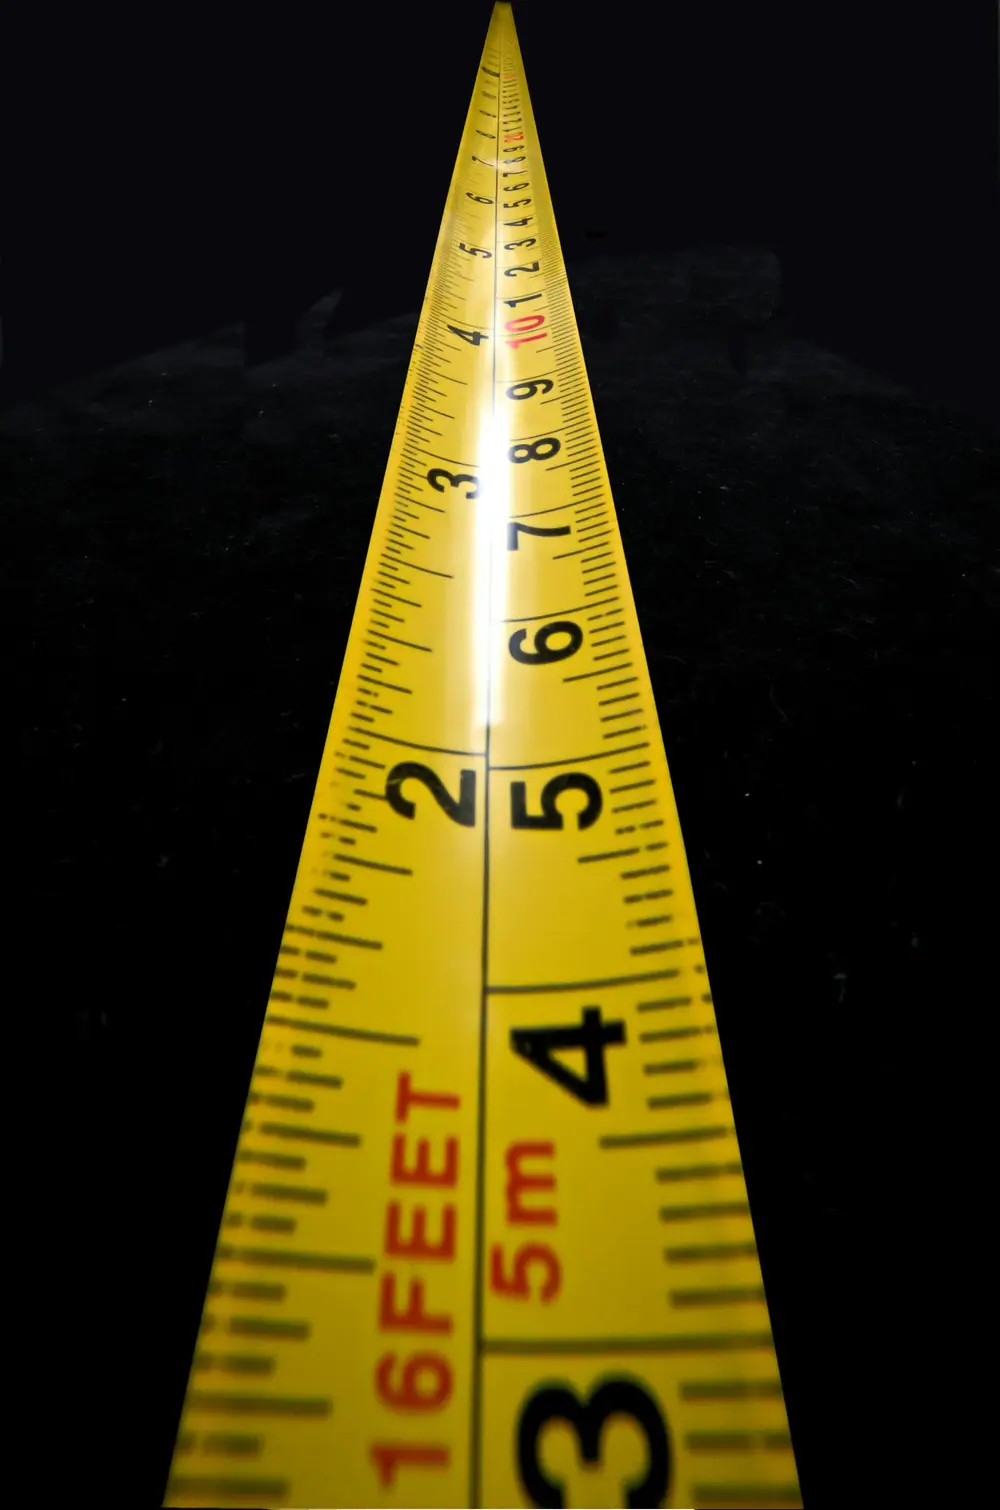
Most mistakes in a home project happen before any cutting or drilling: a mismeasured shelf, a crooked picture rail, a hole drilled a stud-width away from the stud. Measuring and marking tools are inexpensive, but using them carefully is the single habit that makes finished work look professional.
Spec sheet
| Tool | Starter spec | Main job | Accuracy check |
|---|---|---|---|
| Tape measure | 8 m, 25 mm wide blade | Lengths, distances, layout | Compare against a steel rule at 300 mm. |
| Spirit level | 600 mm, plus a 230 mm torpedo | Level and plumb lines | Flip test (see below). |
| Speed square | 180 mm aluminium | Square lines, 45° marks, saw guide | Draw a line, flip, draw again: lines should overlap. |
| Combination square | 300 mm | Depth, 90° and 45° marks, gauge lines | Same flip test as the speed square. |
| Stud detector | Edge-finding electronic | Locating studs and joists | Confirm with a small nail in a hidden spot. |
| Marking tools | Carpenter pencil, fine marker, utility knife | Cut lines and drill points | A sharp point gives a narrower line. |
Reading a tape measure
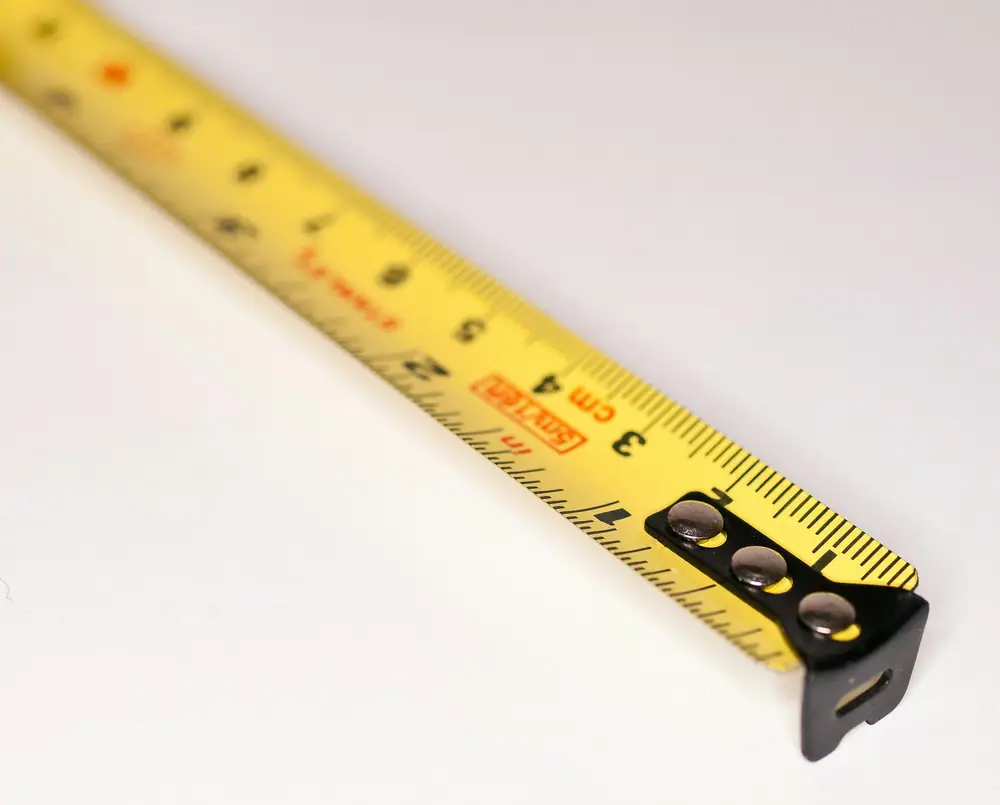
On a metric tape, each centimetre is divided into ten millimetres. A slightly longer line marks the 5 mm point, the centimetres are numbered, and a bolder mark usually appears every 10 cm. Many tapes sold in the UK carry an imperial scale along the other edge too, so read from the same edge every time and write measurements down in millimetres.
Some tapes also highlight every 400 mm in a contrasting colour. Timber stud walls are commonly built with studs at 400 mm or 600 mm centres, so the marks help you predict where the next stud should be.
Checking a level
Place the level on a flat surface and note where the bubble sits. Rotate it end-for-end in the same spot. If the bubble sits in the same position, the vial is accurate. If not, the level is off, and on an adjustable model you can correct it; otherwise, return it.
What to look for
- Tape stand-out. A wider blade extends further before bending, which helps when you measure alone.
- A readable blade. Clear millimetre lines and bold centimetre numbers are easier for beginners than a cluttered blade.
- A level with a solid, straight frame and vials that are easy to see from an angle.
- A square with deeply etched markings that will not rub off.
- A stud detector that shows both edges, so you can mark the centre rather than guessing.
- A lock on the tape that holds firmly without creeping.
Safety checklist
Measuring is low risk, but mistakes carry into the next step. Click to mark each item.
Measure
- Measured twice, from the same reference edge both times
- Written measurements down immediately, with the unit
- Kept fingers clear of the blade as it retracts; let it return slowly
Locate
- Scanned for studs and marked both edges before drilling
- Checked for cables and pipes, avoiding the zones directly above and below sockets and switches
- Confirmed level lines with the flip test
Mark
- Used a V-mark (a small "crow's foot") to show the exact point
- Marked which side of the line is waste
First project to practise on
PRACTICE PROJECT · 40 MIN
Lay out a three-frame picture grouping
Cut brown paper templates the size of three frames and mark each hanger position on the paper. Tape the templates to the wall, check the top edges with the level, and use the tape to set equal 50–75 mm gaps between them. Find and mark studs along the line with the stud detector, then compare its readings with a light knock test and the 400 mm stud marks on your tape. When everything lines up, press a nail through each paper hanger mark. You end up with a level grouping and a clear sense of how accurate each of your tools is.
This guide is general information for home DIY. Always follow the manufacturer's instructions for your specific tool, and use a registered electrician, a Gas Safe registered engineer or a qualified builder for electrical, gas or structural work.