FEATURE · A FIELD GUIDE TO BASIC TOOLS
A beginner's toolkit, drawn to scale
Most home-project advice starts with the project. We start one step earlier, with the tools themselves. When you understand what a tool is designed to do, what its numbers mean and where its limits are, every project that follows goes more smoothly and more safely.
Why start with the tools
Walk into any DIY shop or builders' merchant and the tool aisle can feel like a wall of specifications: grams, volts, teeth per inch, screw sizes, clutch settings. It is tempting to skip all of it and buy a large kit in a plastic case. Yet the people who enjoy DIY and get good results usually know a small number of tools very well. They know which screwdriver fits which screw, how much force a hinge screw needs, and when to put down the drill and finish by hand.
That familiarity is not a talent. It is information, and it can be learned in an afternoon per tool. The Tool Guides on this site are written for exactly that: each one covers a single tool category, with a spec table, a list of features worth looking for, a safety checklist you can print, and a small first project that uses scrap material so mistakes cost nothing.
This overview walks through the same ground at a higher level. Read it once, then open the guide for whichever tool you are about to buy or use.
Measure and mark first
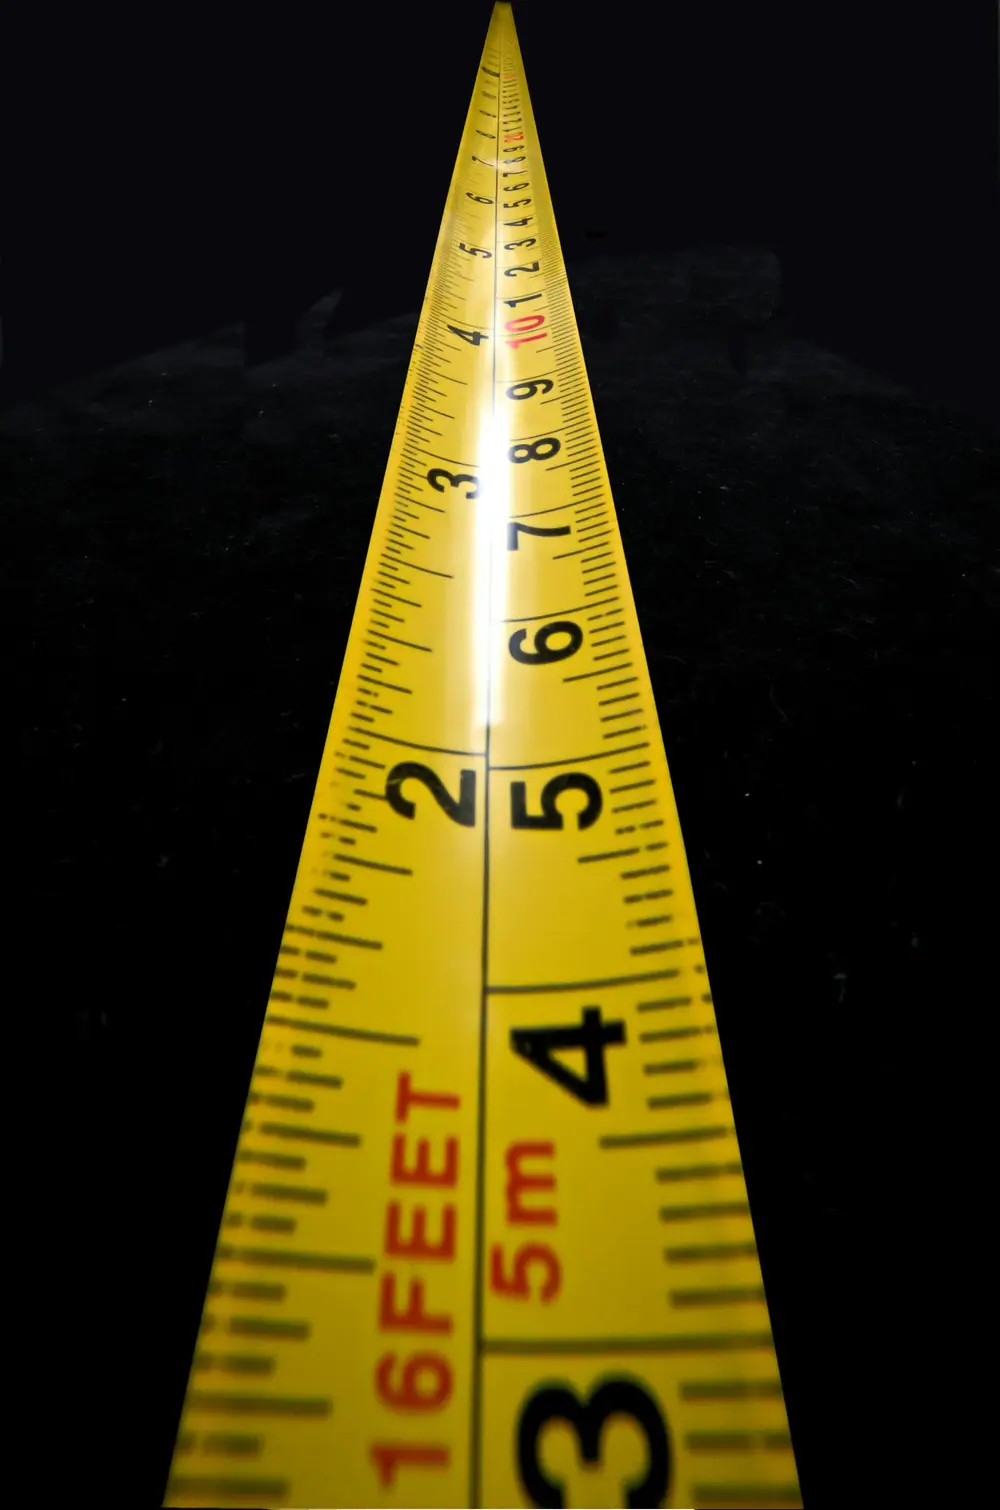
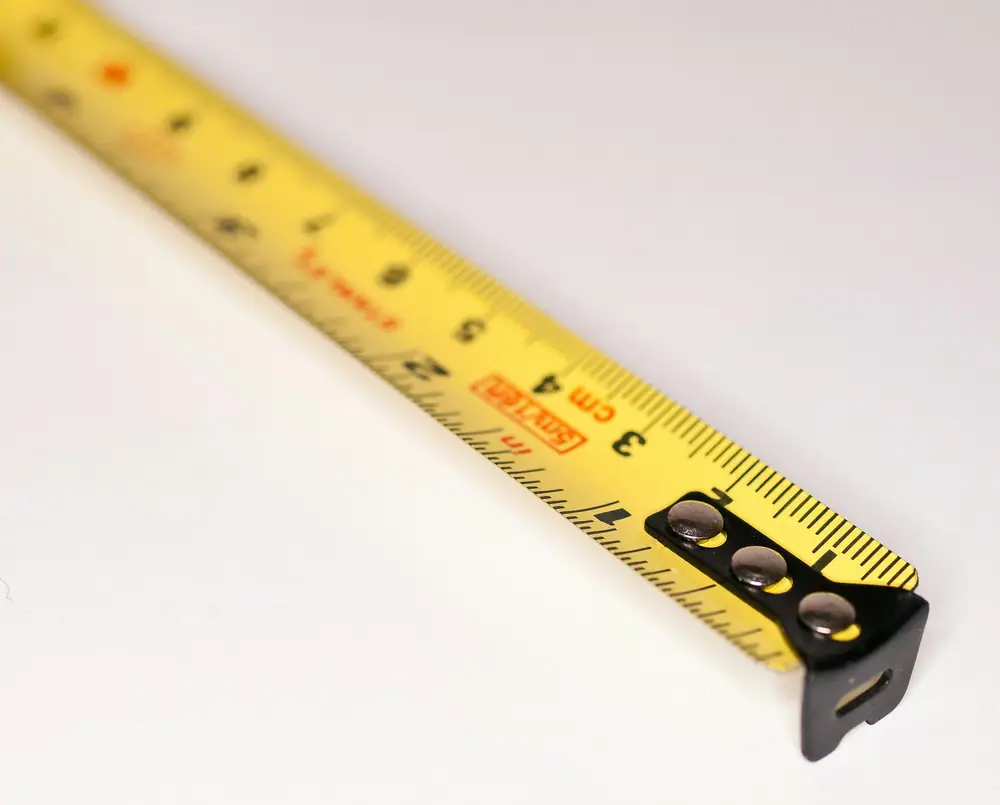
The cheapest tools in the kit prevent the most expensive mistakes. An 8 m tape measure, a level, a square and a sharp pencil decide whether a shelf ends up straight and whether a drill hole lands in a stud or in empty plasterboard.
Two habits make the difference. First, measure twice from the same reference edge. Second, mark with a small V rather than a line, so the exact point is clear. Check a level by reading it, flipping it end-for-end and reading again; if the bubble moves, the level is off.
The ten-item starter kit
You do not need a large collection to handle everyday fixes. The table below is a sensible first kit for a house or flat. Everything on it is used regularly, and none of it is specialised.
| # | Tool | Spec | Guide |
|---|---|---|---|
| 01 | Claw hammer | 450 g (16 oz), curved claw | Hand tools |
| 02 | Multi-bit screwdriver | PZ1/PZ2, PH1/PH2, slotted | Hand tools |
| 03 | Pliers (two pairs) | combination + long-nose | Hand tools |
| 04 | Adjustable spanner | 200 mm (8 in) | Hand tools |
| 05 | Tape measure | 8 m × 25 mm | Measuring |
| 06 | Level | 600 mm + 230 mm torpedo | Measuring |
| 07 | Utility knife | retractable, spare blades | Cutting |
| 08 | Cordless drill/driver | 12–20 V, 2 batteries | Drill & bits |
| 09 | Fastener assortment | screws, nails, fixings | Fasteners |
| 10 | Safety glasses | EN 166 | Safety gear |
If budget is tight, buy items 01 to 07 and 10 first. They cover hanging pictures, tightening hinges, assembling furniture and small repairs. Add the drill/driver and a fuller fastener box when you take on your first planned project. Our note on building a toolkit in three phases goes into detail.
Hand tools and power tools
Power tools are not simply upgraded hand tools. They are faster at volume, but they also amplify small errors: a drill that wanders off its mark, a screw driven too deep, a saw that races past the line. Hand tools are slower, quieter and more forgiving, and they teach you how materials behave.
A useful rule is to count repetitions. For two hinge screws, a screwdriver is quicker than finding the drill, fitting a bit and setting the clutch. For forty screws in a flat-pack wardrobe, the drill/driver wins easily. Many experienced DIYers combine the two: power for the repetitive part, a hand tool for the final quarter turn where feel counts.
Power tools make you faster. Hand tools make you accurate. A good kit has room for both.— Shop Cloud Court editorial note
The drill/driver, decoded
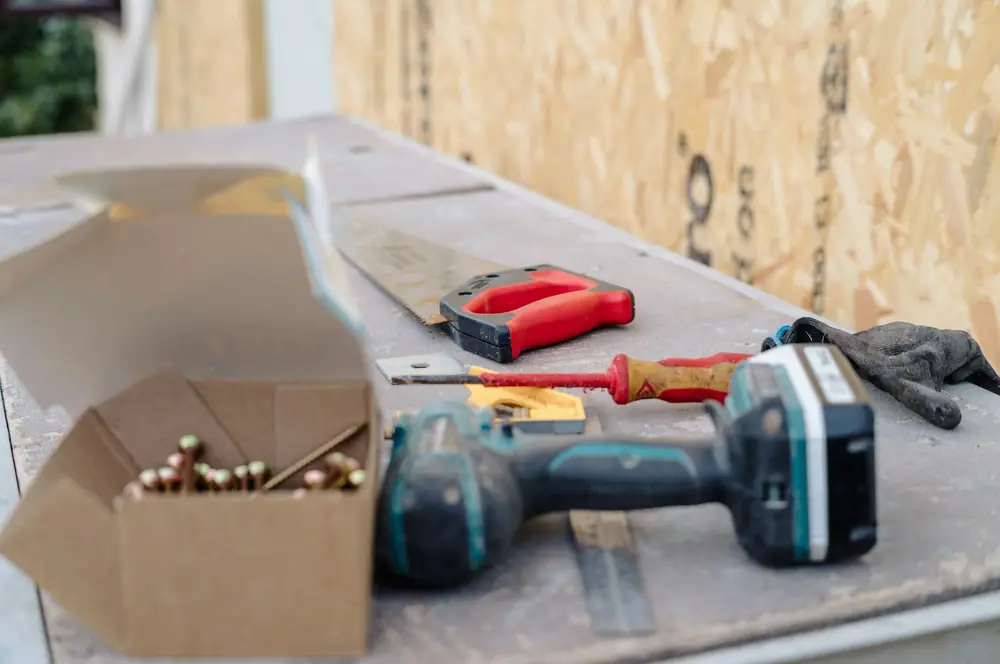
If you buy one power tool, make it a cordless drill/driver. The voltage number describes the battery platform; a modern 12 V tool handles most household work, while 18–20 V adds headroom for larger holes. The chuck size (10 mm or 13 mm) sets the largest bit shank it will hold.
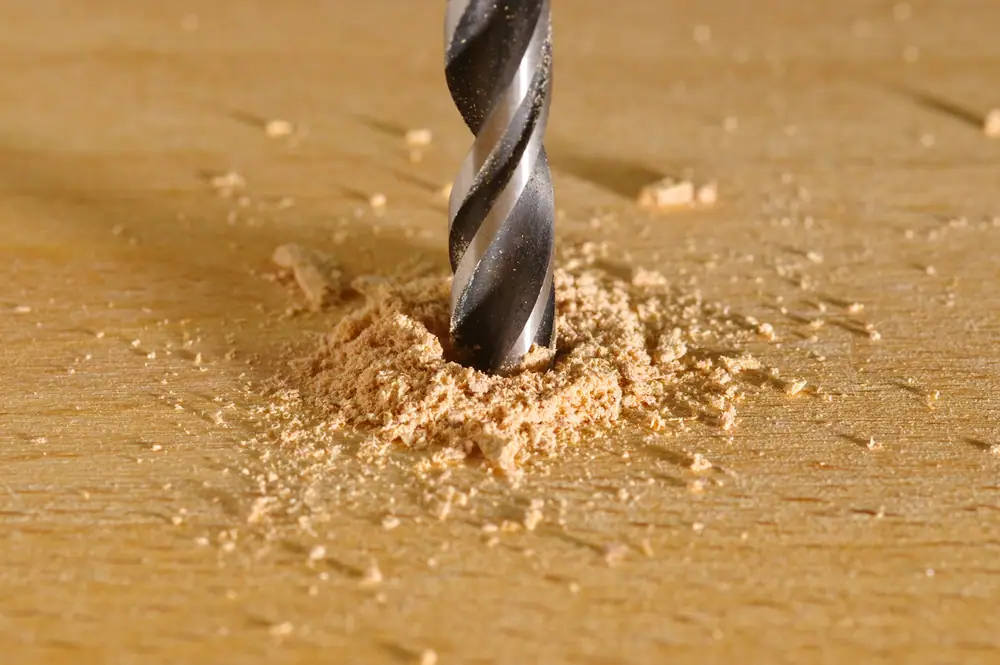
The numbered collar behind the chuck is the clutch. Low numbers stop early to protect small screws; high numbers allow more torque. Start low, test on scrap, and work up. Pair the drill with twist bits for wood and metal, brad-point bits for clean holes in furniture, and masonry bits for brick and concrete.

Fasteners and wall plugs
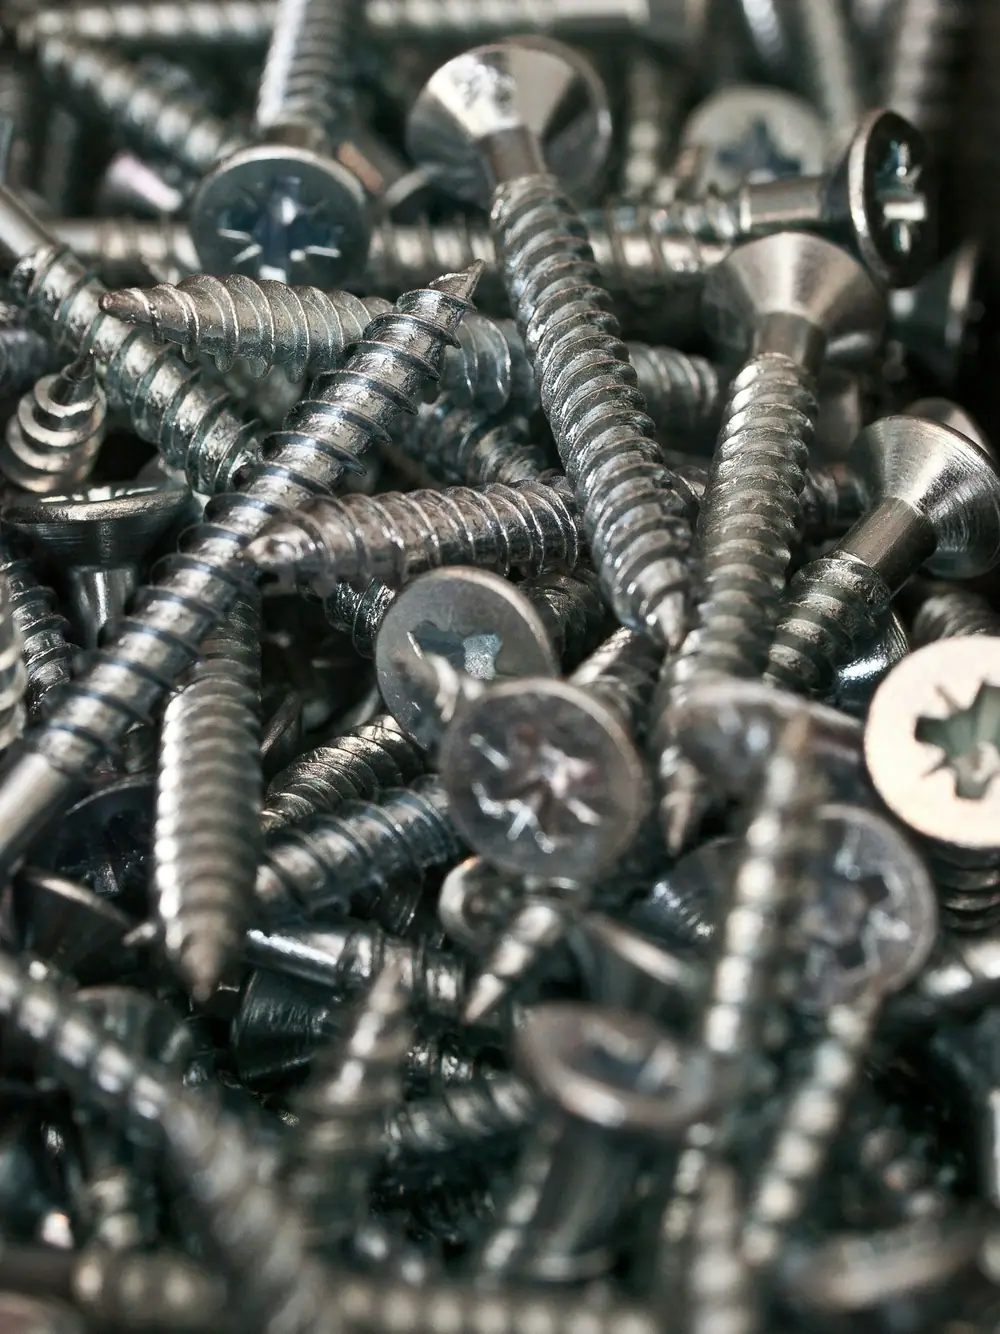
When a shelf sags or a towel rail pulls out of the wall, the tool is rarely at fault. The fastener is. A screw label such as 4.0 × 30 mm gives the diameter and length in millimetres. For wood, aim for about two-thirds of the screw length in the piece you are fastening into.
Walls need more thought. In a timber stud wall, the strongest fixing is a screw into a stud, so check for one first; solid brick or block walls need masonry plugs instead. For hollow plasterboard between studs, match the fixing to the load: plastic wall plugs for light frames, self-drill plasterboard fixings for mirrors and curtain poles, and toggle fixings for heavier shelving. Every pack lists a drill size and a rating; follow both exactly.
Before drilling any wall: locate studs, scan for pipes and cables, avoid the areas directly above and below sockets and switches, and read the fixing pack. Two minutes of checking prevents most wall-fixing problems.
Safety gear is part of the toolkit
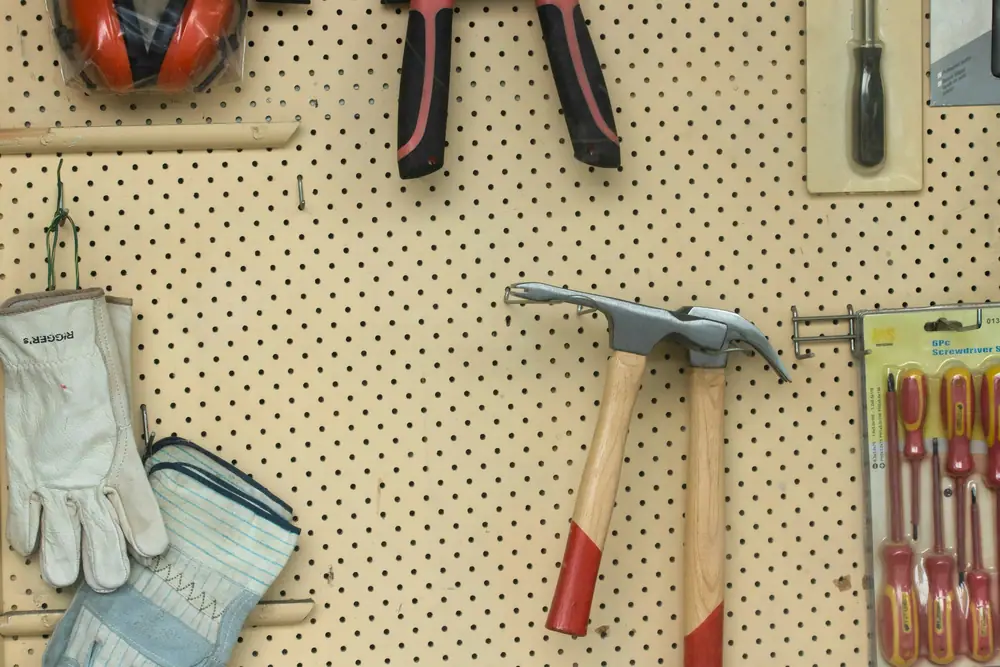
Protective equipment is inexpensive and specific. Safety glasses marked EN 166 guard against flying chips from hammering, drilling and cutting. Earmuffs or plugs protect hearing around saws, sanders and hammer drills. An FFP2 or FFP3 disposable mask with two straps handles sanding dust. Gloves protect hands when handling rough timber or sheet metal, but come off when using anything with a spinning chuck.
The most effective safety habit is making gear easy to reach. Hang glasses and earmuffs on the same hook as your drill, and they will go on without thinking. The safety gear guide includes a printable pre-project checklist.
Storage and care
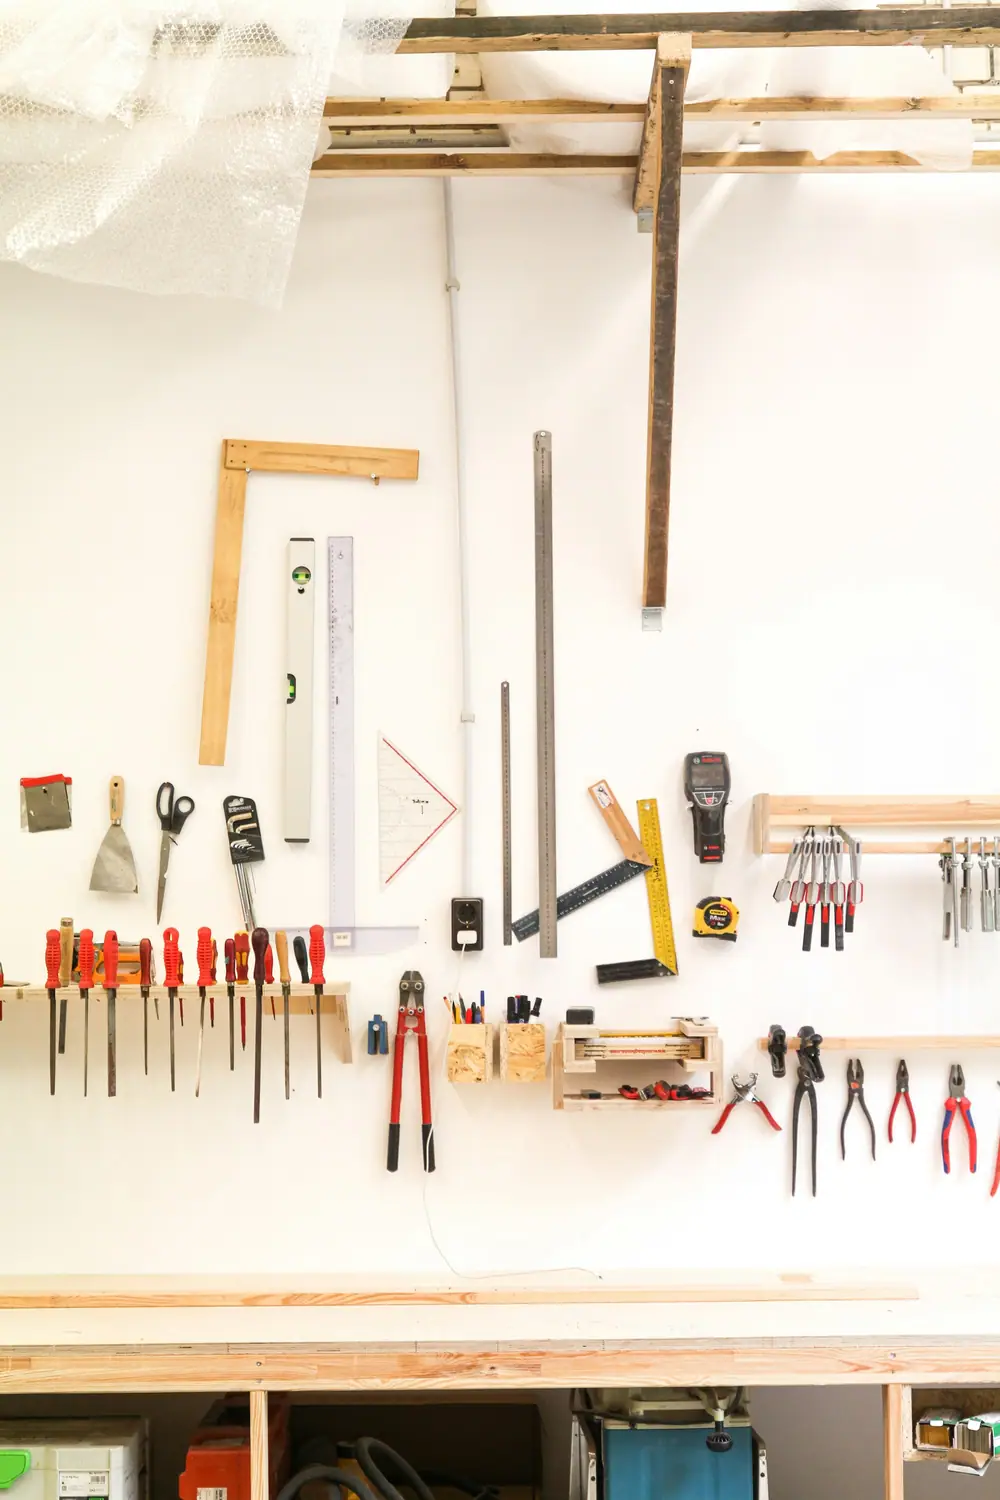
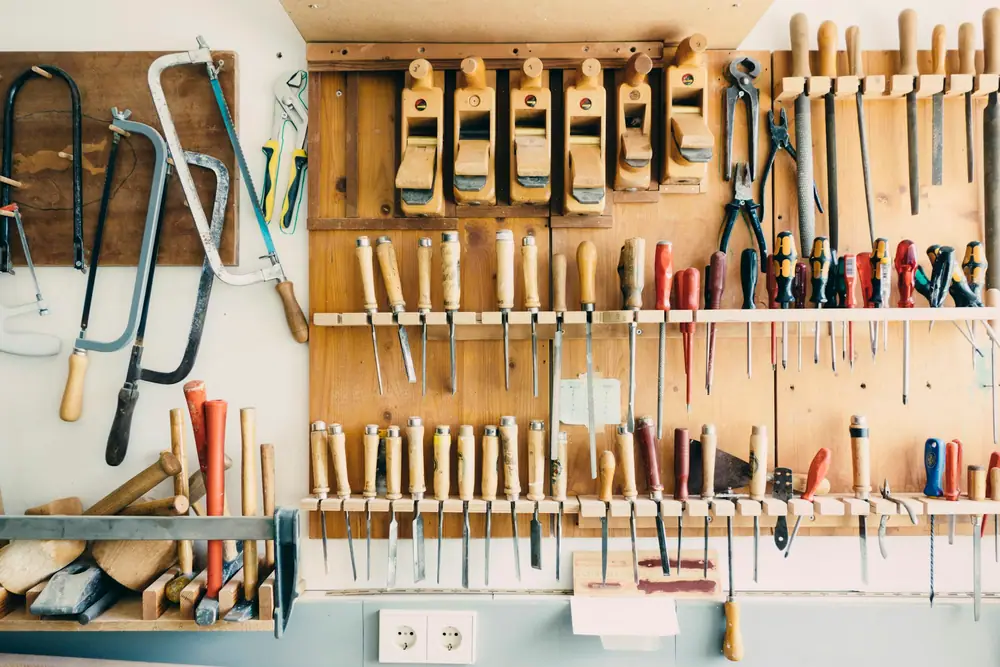
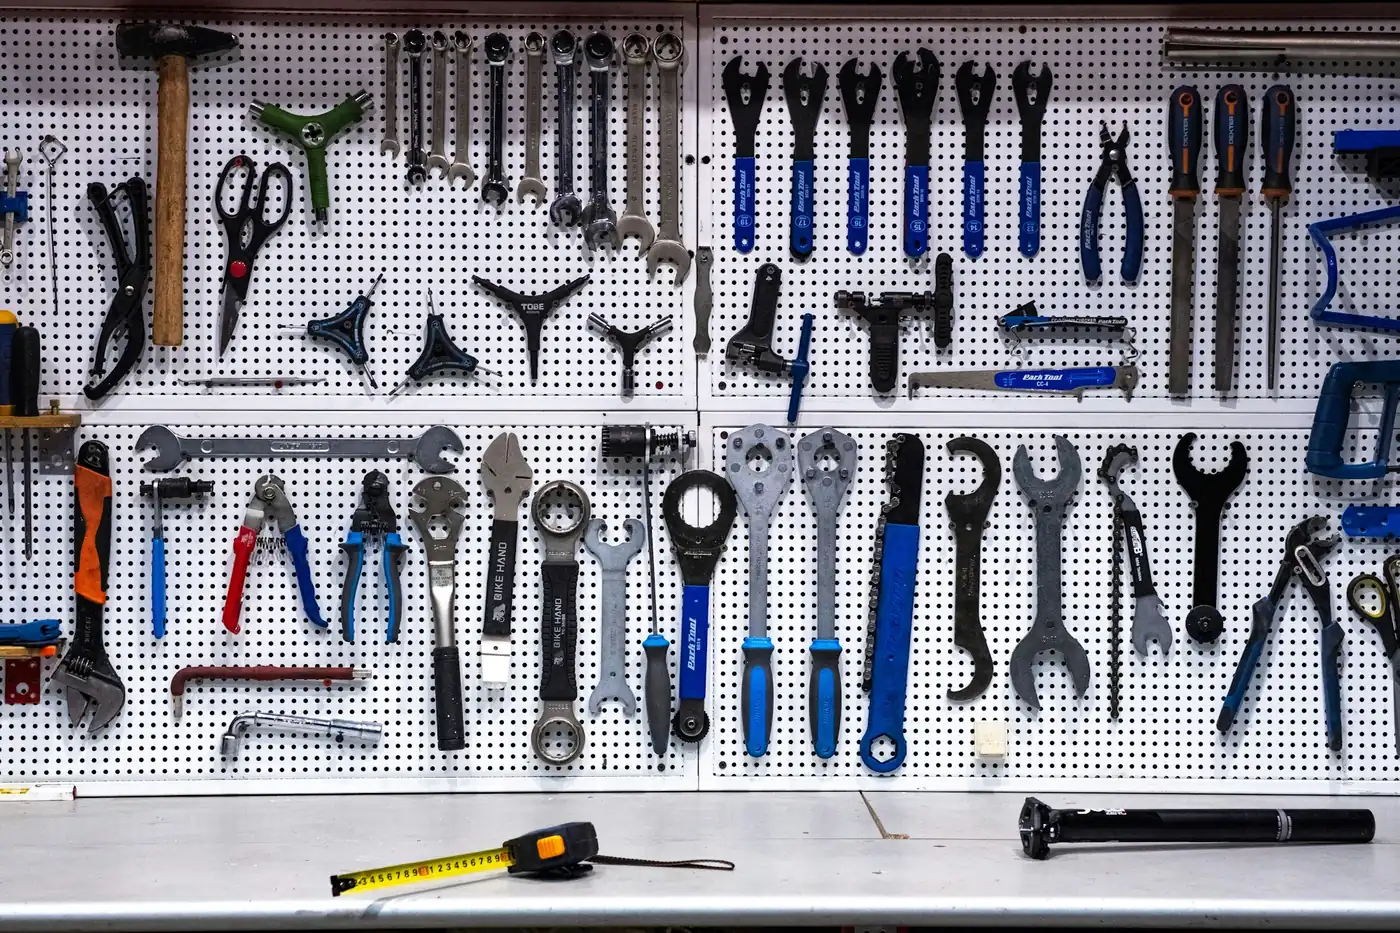
Tools that have a fixed home get used and get noticed when they go missing. Sort by frequency: everyday tools in a tote or drawer, project tools on a wall panel, occasional tools in labelled bins. Keep one fastener size per organiser cup. Wipe steel tools after use and give them a light coat of oil a few times a year; store lithium-ion batteries indoors at room temperature. A twenty-minute seasonal check keeps the whole kit in working order.
Our notes on tool storage and rust, batteries and blades cover the details.