
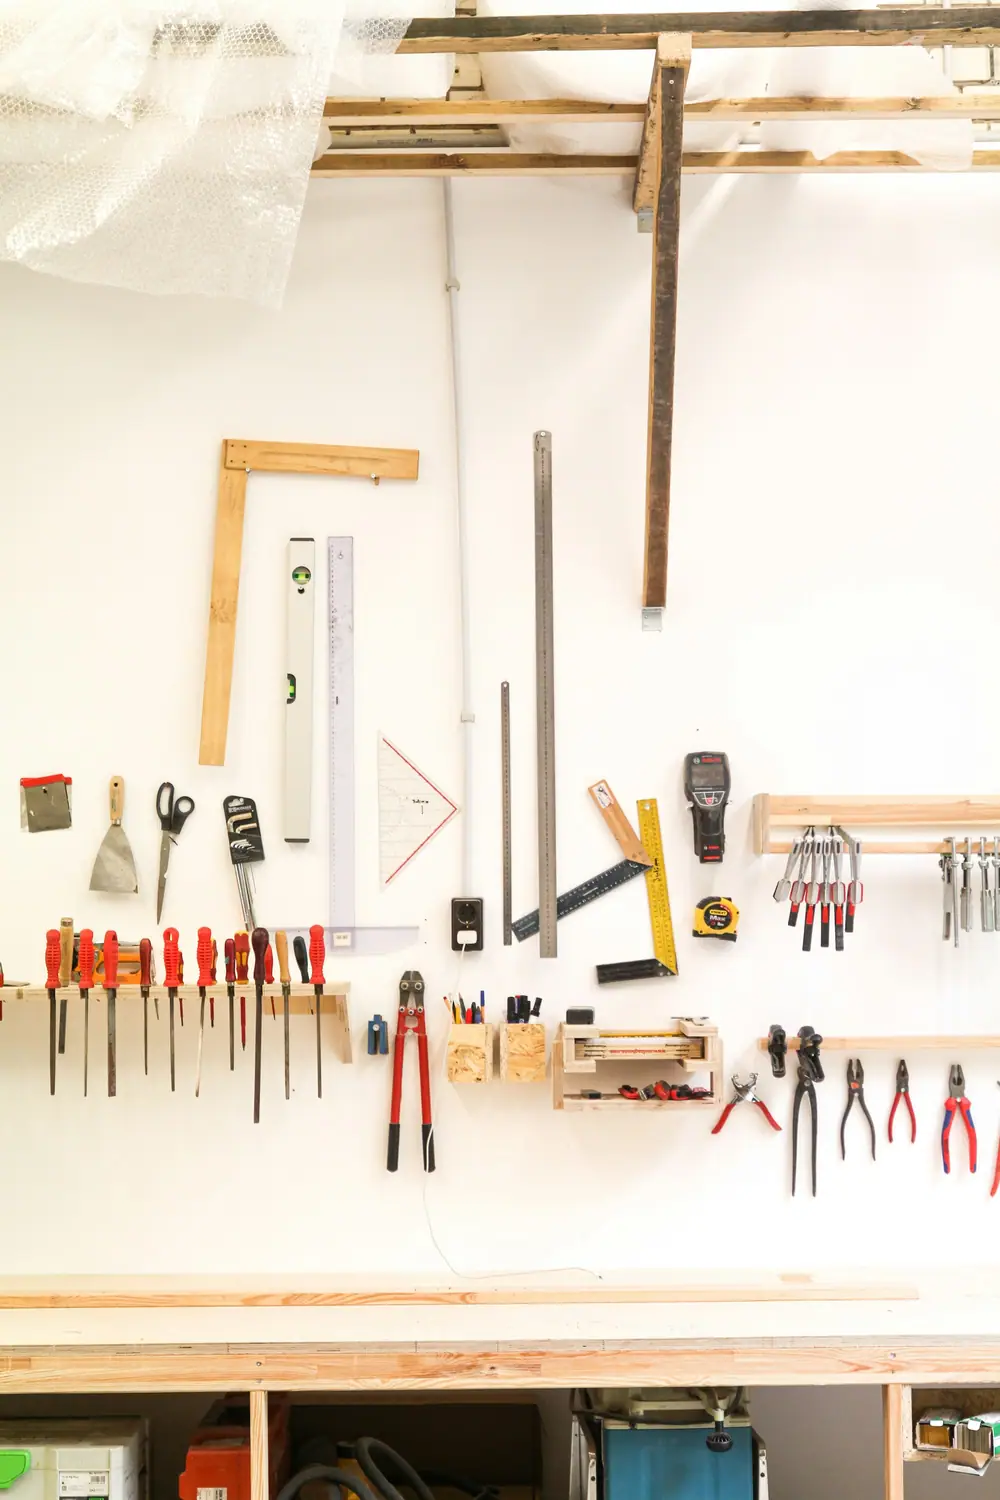
The usual advice for a new DIYer is to buy a big boxed kit. The problem is that large kits tend to include many tools you will rarely use and cheaper versions of the few you will use constantly. A staged approach costs about the same over time and leaves you with a kit that fits the work you actually do.
The principle: buy for the next job, not every job
Each tool earns its place by solving a problem you have now or will clearly have soon. That keeps the budget in check and, more importantly, means every tool gets used while you are still learning it. A tool that sits in the box for two years is not experience, it is clutter.
The phases below are a guide rather than a rulebook. If your first project is hanging shelves, the stud detector may move up a phase. If you rent, the heavy masonry items may never be needed.
Phase 1: the fix-it drawer
This is the set that lives in a kitchen drawer or a small tote and handles day-to-day fixes: tightening a loose cupboard hinge, hanging a frame, assembling a bookcase.
| Item | Spec | First use |
|---|---|---|
| Claw hammer | 450 g (16 oz) | Picture hooks, small nails |
| Multi-bit screwdriver | Pozidriv PZ1/PZ2, Phillips PH1/PH2, slotted | Hinges, switch plates, furniture |
| Tape measure | 8 m | Everything |
| Torpedo level | 230 mm | Frames, small shelves |
| Pliers pair | Slip-joint + long-nose | Gripping, bending, retrieving |
| Utility knife | Retractable, spare blades | Packaging, scoring, trimming |
| Safety glasses | EN 166 | Any hammering or cutting |
Add a small assortment box of screws, nails and plastic wall plugs, plus a pencil. That is it. Resist the temptation to add more until the drawer has been opened a dozen times.
Phase 2: the project kit
Once you start tackling planned projects rather than quick fixes, the limiting factor becomes holes and screws. This is the moment for a cordless drill/driver.
- Cordless drill/driver with two batteries (see our drill and bits guide).
- Drill bit set with twist bits from 1.5 to 6 mm and a few masonry bits.
- Driver bit set including Pozidriv and Torx tips.
- Stud detector that shows both edges of a stud.
- 600 mm level for shelves and curtain poles.
- Speed square for marking square lines.
- Adjustable spanner, 200 mm.
- Two clamps, 150 mm or 300 mm bar clamps.
- Hearing protection and a pack of FFP2 or FFP3 masks.
Phase 3: buy when the job arrives
These tools are useful, but each is tied to a type of work. Buy (or rent) them when that work shows up on your list.
| If your next job is… | Consider |
|---|---|
| Cutting boards to length | Crosscut hand saw, then a jigsaw or circular saw |
| Replacing a tap or waste trap | Water pump pliers, basin wrench |
| Assembling a lot of furniture | Compact impact driver, hex key set |
| Drilling into brick or concrete | Hammer drill (renting is often sensible) |
| Finishing and paint prep | Random orbit sander, filling knives |
| Swapping a light fitting | Non-contact voltage tester, wire stripper |
Where to spend and where to save
Spend on the tools you hold for long periods or rely on for accuracy: the drill/driver, the tape measure, a good screwdriver, and eye protection you will actually keep on. Save on items that are used occasionally or wear out regardless of price, such as utility knife blades, basic clamps and drill bits for rough work.
It is also reasonable to buy a mid-range drill that belongs to a battery platform with a wide range of tools. Later purchases can then be "tool-only" versions that share batteries, which lowers the cost of Phase 3.
Keep the kit visible
A staged kit works best when you can see what you already own. A small wall panel or a tote with dedicated slots stops you from buying duplicates. Our note on tool storage that gets used covers simple layouts for each phase.
Phase checklist
- Phase 1 drawer assembled and labelled
- Fastener assortment box stocked
- First planned project chosen before buying the drill
- Battery platform chosen with future tools in mind
- Phase 3 list written down, with a "rent first" note on large items